This website will likely hold lots of images. Image rendering drove loading times on my old portfolio website, so I know this is something I need to think about if I want my webpages to have respectable loading times. Even if I didn’t care about page speed, Github Pages, which hosts this website, restricts sites to less than 1GB. At 3MB per image, I’d be capped at <300 total images in the site.
My approach here is to reduce image file size by resizing the images to better fit the site layout (literally make them smaller dimensions), and to eliminate “excess” data via lossy compression. These two things can be done with a lightweight workflow using ImageMagick. The following command, placed in a batch script in the same directory as the images I wish to resize, leverages ImageMagick’s adaptive resizer to compress and overwrite the entire batch of .jpgs:
magick mogrify -adaptive-resize WIDTHxHEIGHT *.jpg
WIDTH can be specified as can HEIGHT per ImageMagick’s geometry arguments. In my case, since I want to style images to have consistent width, I can leave off the xHEIGHT, and ImageMagick will preserve the aspect ratio while resizing the width.
Here is a raw test image I took near San Pedro de Atacama, uploaded straight from my Google Photos:
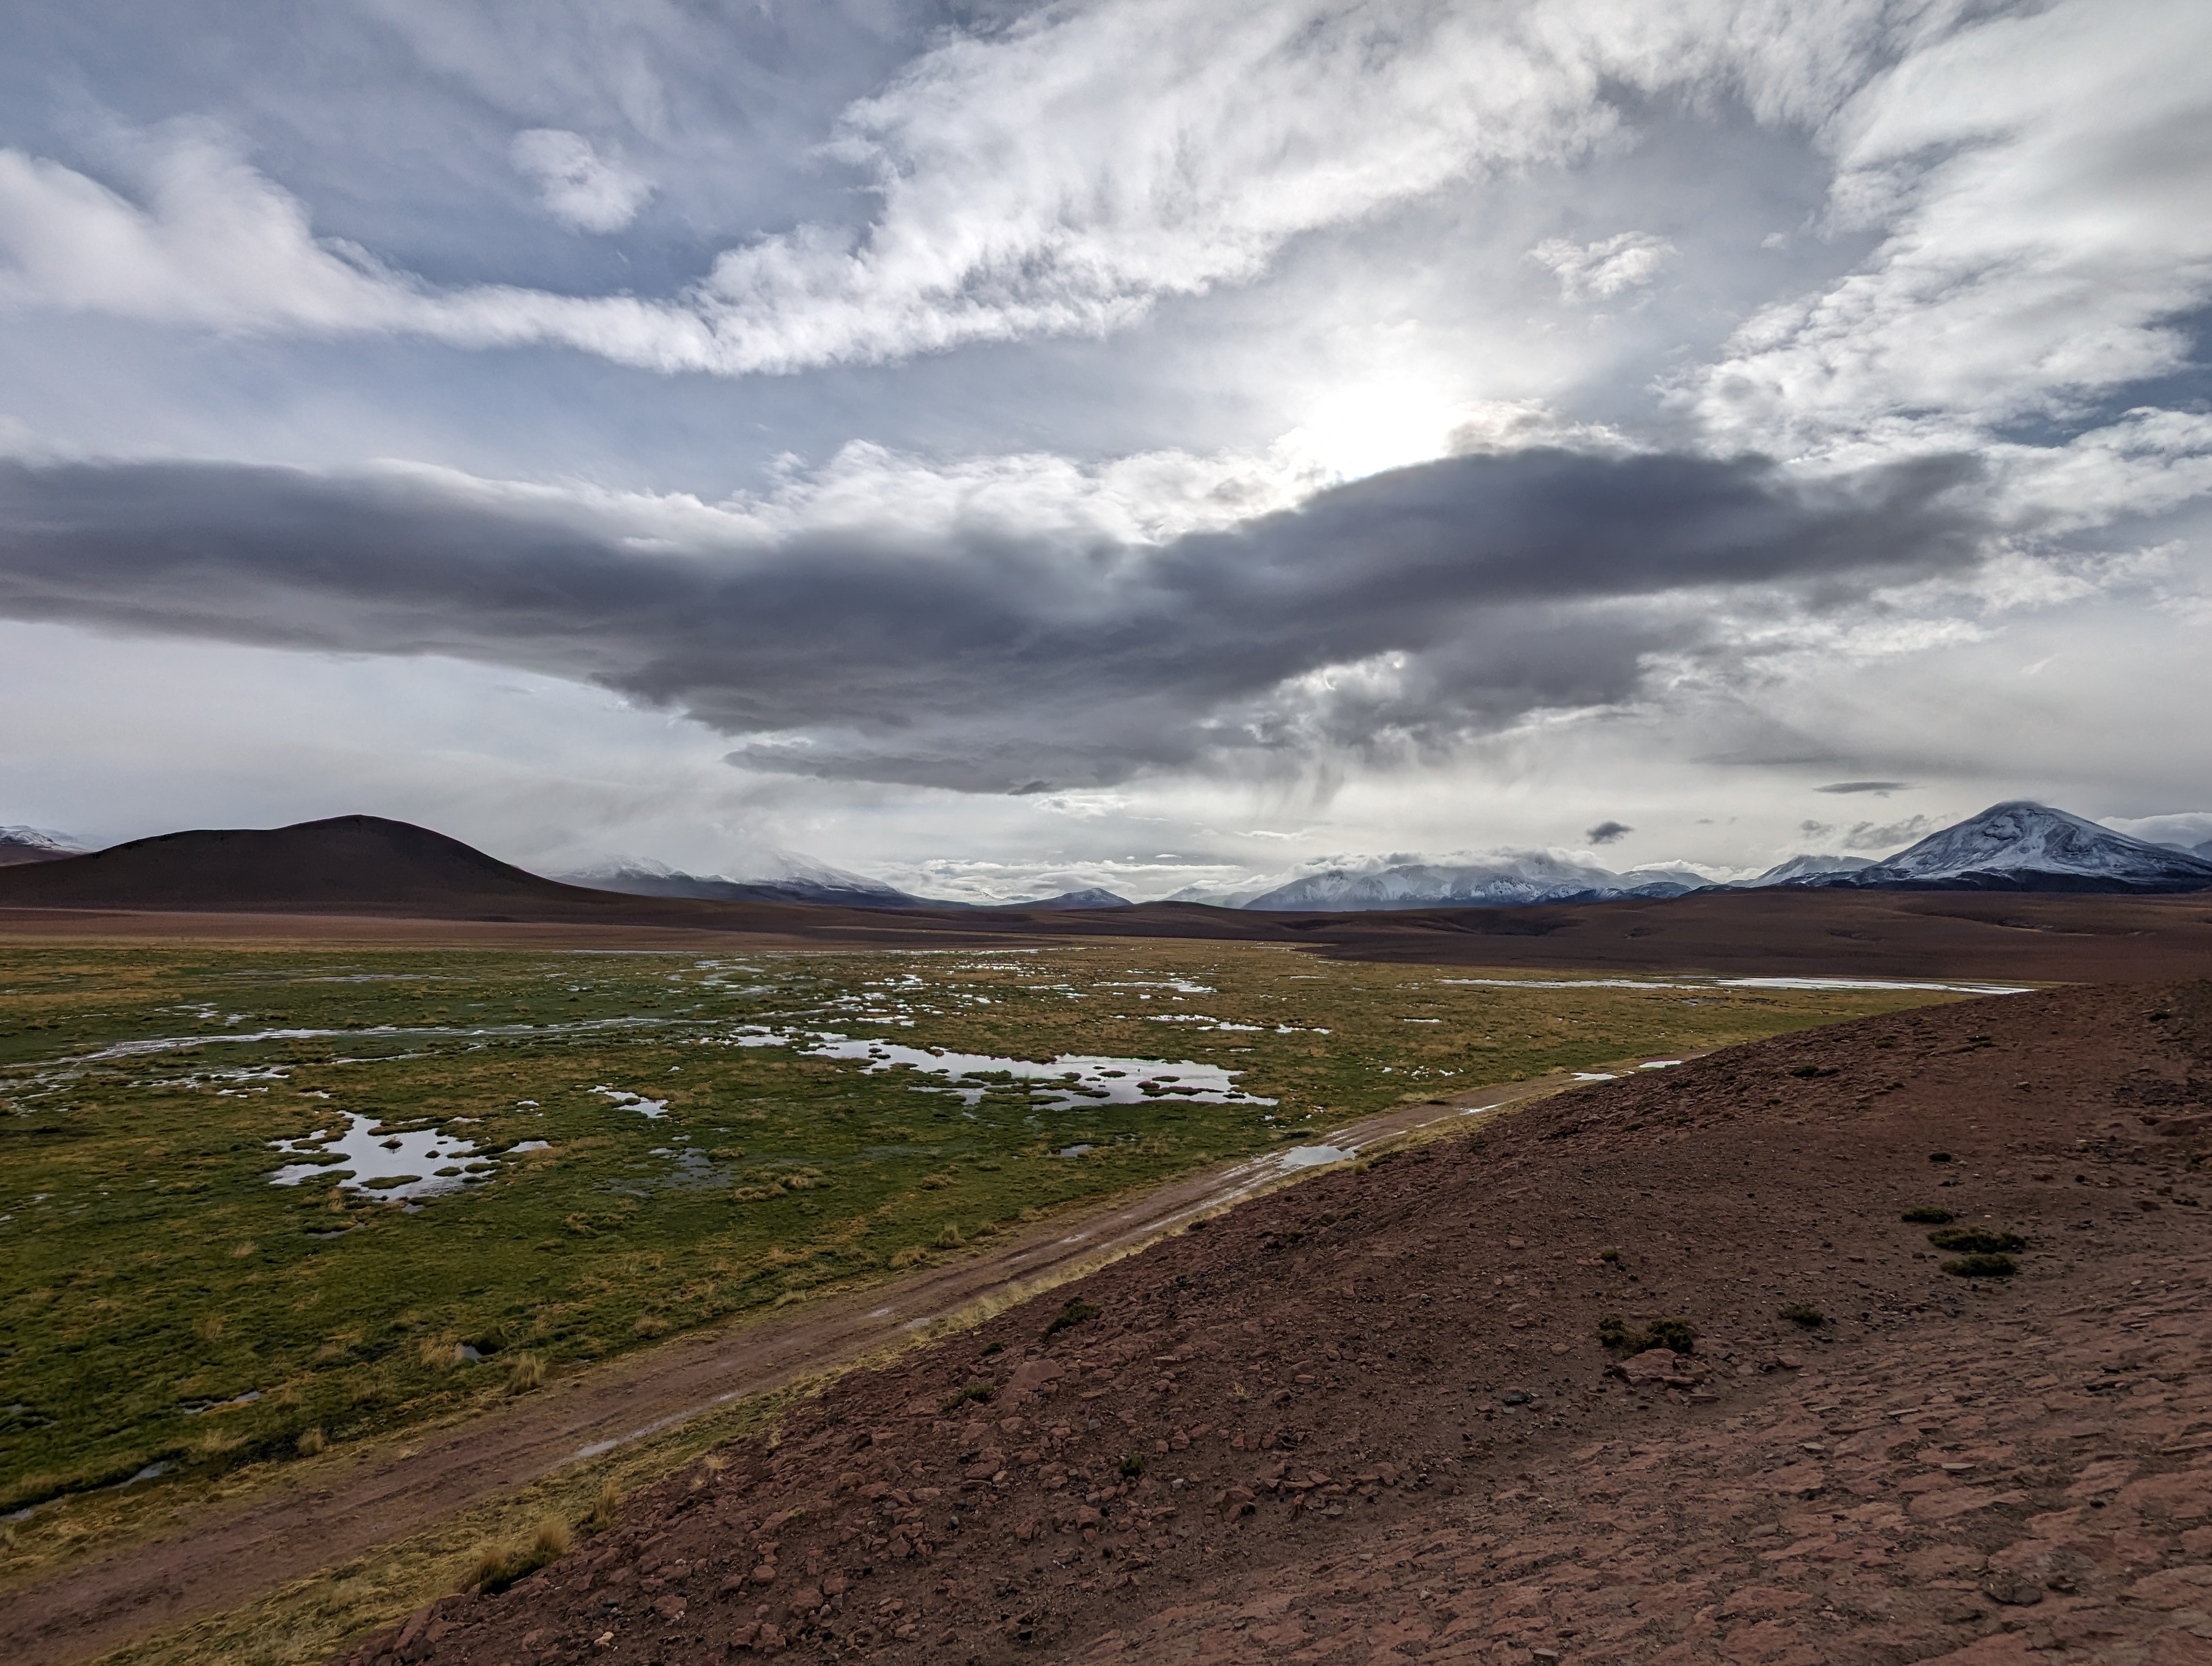
Feels bad to burn the 2.9MB of the above photo just for this example, but hopefully it provides a good comparison to dial in the resizing script.
At its biggest, the CSS styling limits width to 780 pixels, compared to the original photo’s 1780 pixels. By running:
magick mogrify -adaptive-resize 780 *.jpg
I get the following:

The above image is, astonishingly, 0.26MB. An order of magnitude reduction in file size for almost no perceivable quality loss! Compression artifacts are really only noticeable upon zoom in.
Can do the same trick to get the thumbnail for this entry, which renders at max 140 pixels wide:
magick mogrify -adaptive-resize 140 *.jpg

0.07MB, that’ll do.